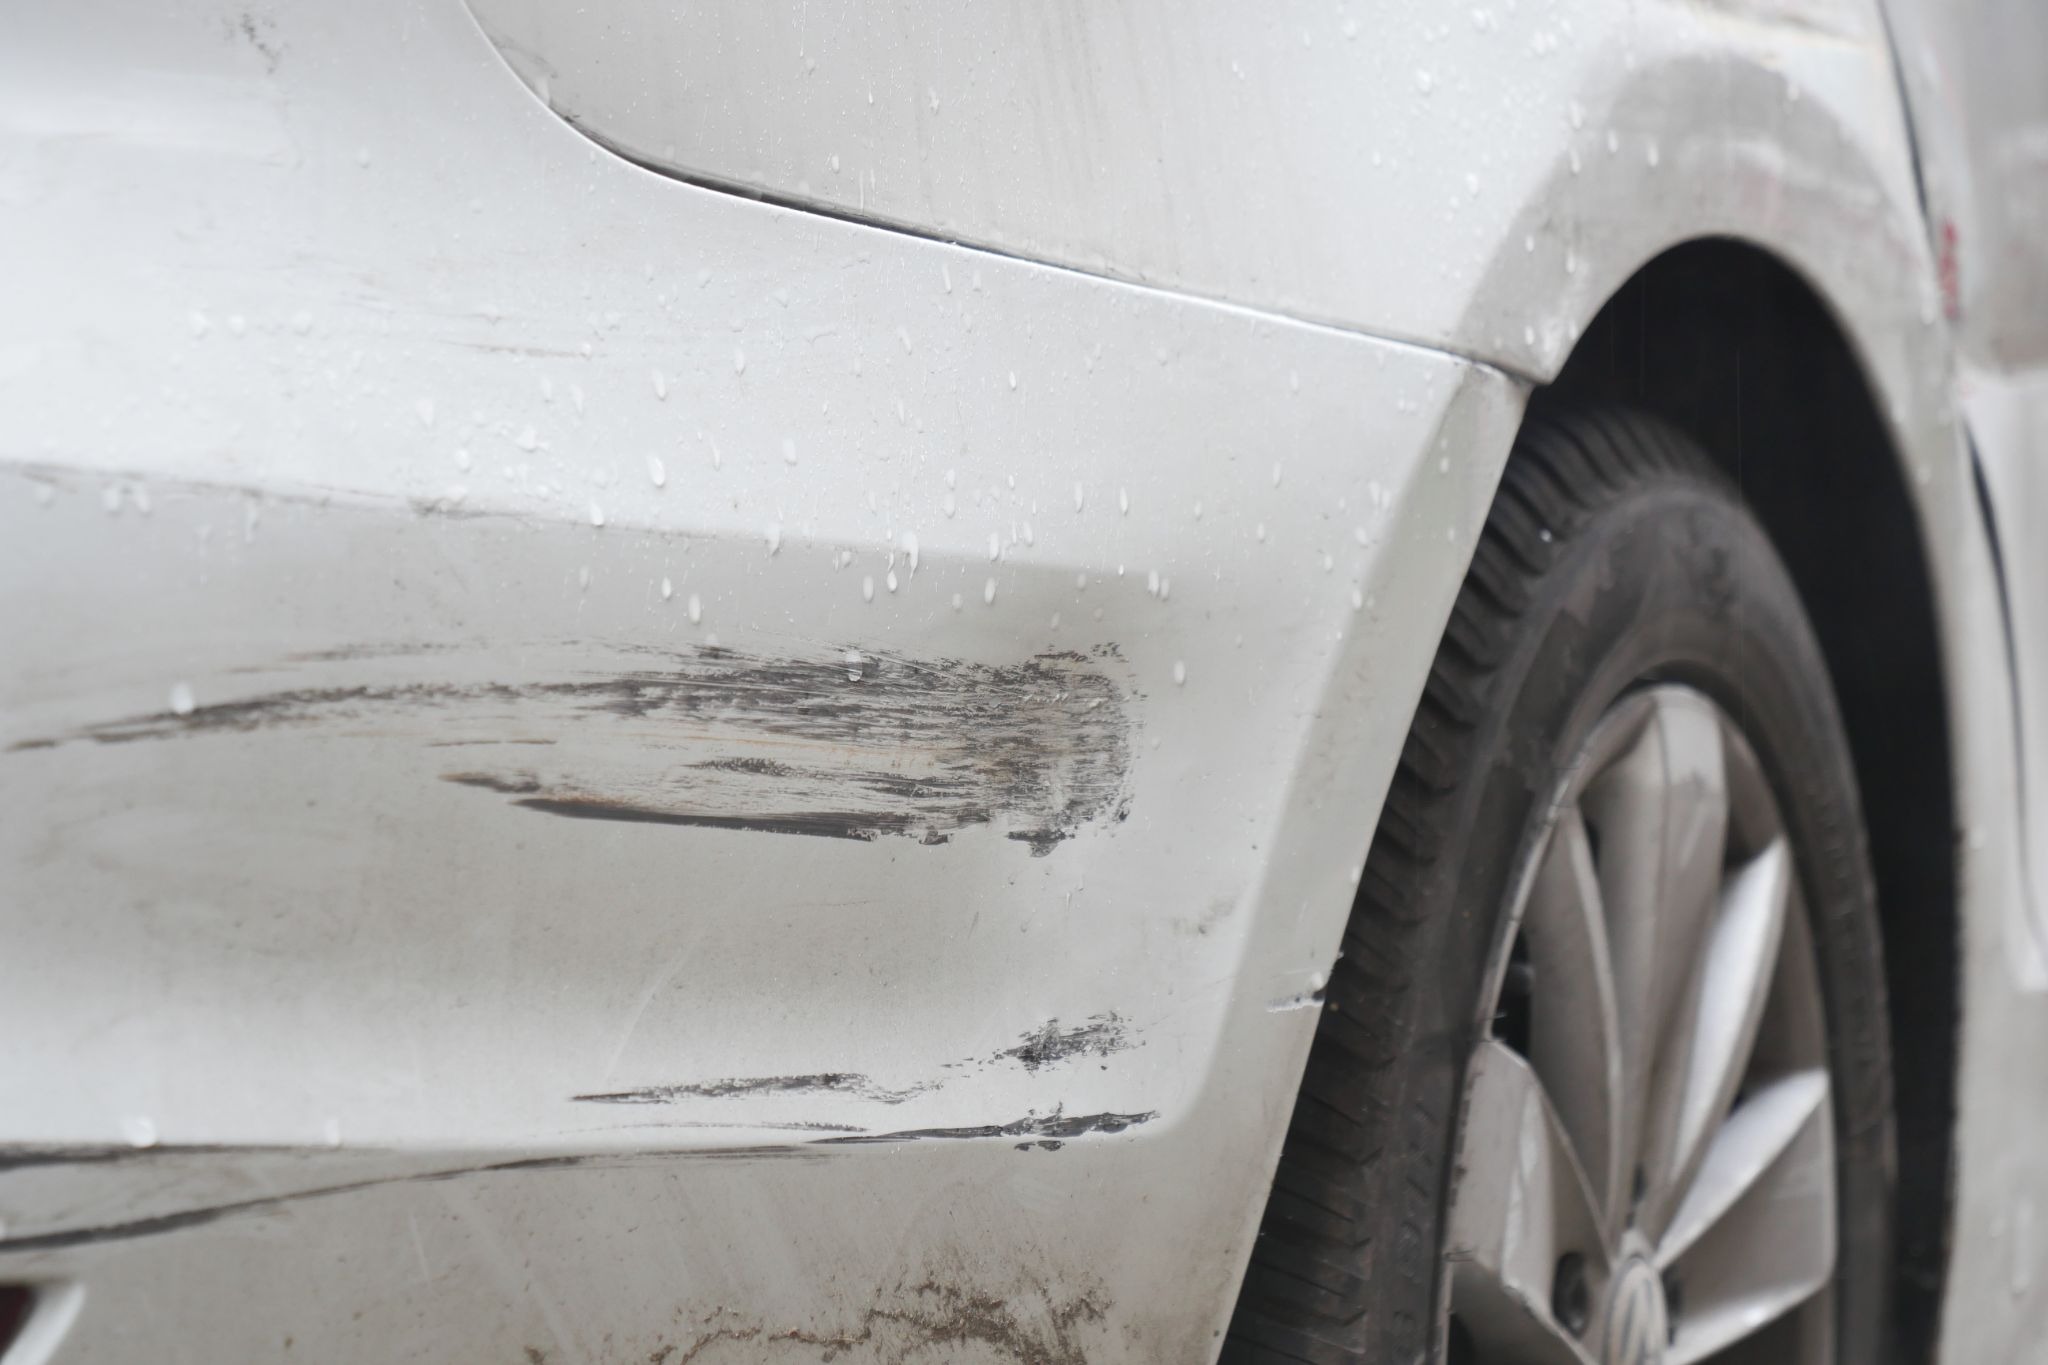
A scratch appears on your car, and the mind goes straight to the worst case. The whole panel needs repainting. Most of the time, it doesn’t. But figuring out what it actually needs starts with understanding what’s been damaged.
Most car owners either overreact, booking a full panel repaint for something a polish would have fixed, or underreact, leaving damage that’s already reached bare metal until rust forces a far more expensive repair. Both mistakes come from the same place, and that is not knowing what’s actually been damaged.
Your car’s paint isn’t a single coat. It’s a four-layer system an electrocoat primer that protects against corrosion, a primer surfacer that smooths the surface, a basecoat that carries the colour, and a clearcoat that provides gloss and protection.
What looks like similar damage from the outside can sit at completely different depths within that system, and depth determines everything.
By the end of this article, you’ll know exactly which layer has been damaged, how serious it is, and which repair it actually calls for.
Your Car’s Paint Is a Layered System
1) Clearcoat
The clearcoat is the outermost layer and on a modern car it’s typically between 40 to 60 microns thick. That’s thinner than a human hair, but it’s doing most of the heavy lifting blocking UV, resisting chemical damage from bird droppings and industrial fallout, and absorbing the physical abrasion that comes from washing. Most of the scratches and swirl marks you see on a car every day live here.
Paint correction works within this layer. A machine polisher with the right compound carefully abrades the clearcoat surface around a defect, levelling it until the scratch disappears. It works well but only while there’s enough clearcoat left to remove safely. A car that’s been aggressively polished multiple times, or one that’s spent years in harsh sun, can reach a point where the clearcoat is too thin to correct without risking burn-through. At that point, polishing makes things worse, not better.
2) Basecoat
Under the clearcoat is the basecoat; this is where the colour actually is. The metallics, the pearls, the solid pigments all of it lives here. And unlike the clearcoat, the basecoat has no hardness or UV resistance of its own. It’s entirely dependent on the clearcoat above it for protection.
When a scratch goes through the clearcoat and into the basecoat, the colour in that area is gone. Not faded, not hidden, physically removed. Polishing can’t bring it back. The only way to restore it is to apply fresh paint, match the colour, and refinish with clearcoat. On a car that’s a few years old, that colour match is rarely straightforward. Paint fades and shifts with sun exposure over time, and getting fresh paint to sit invisibly next to aged paint takes real skill.
3) Primer
Primer is what bonds the whole paint system to the metal beneath. It’s not glamorous, but without it, nothing above it stays put. When damage cuts all the way to the primer, the entire paint stack above has been removed in that spot. The repair isn’t just cosmetic anymore; it involves cleaning the area, removing any contamination, applying fresh primer, and refinishing from scratch.
Primer also has a shelf life when exposed. It was designed to sit between layers, not face the outside world. Leave it exposed long enough, and it starts degrading, which means more preparation work before the repair can even begin.
What if the BARE METAL is exposed?
Beneath the primer sits the metal body of the car itself, what’s referred to as bare metal. Most paint damage never reaches this far. But when it does, the repair becomes less about appearance and more about protection.
Once bare metal is exposed, the conversation isn’t about paint anymore; it’s about corrosion. Steel starts oxidising the moment it meets moisture and oxygen. In India, where humidity stays high for most of the year, the monsoon accelerates everything. A small exposed patch can develop visible rust within weeks. And it’s not just moisture doing the damage.
Tree sap and bird droppings, which in cooler climates are a minor nuisance, become chemically aggressive under sustained Indian heat. Left on the surface long enough, they don’t just etch the clear coat, they can work through compromised paint down to bare metal over time. Automatic roller car washes add to this, their debris-laden rollers creating micro-scratches that, left untreated and repeatedly exposed to the same conditions, gradually strip the protective layers down further than most owners expect.
What catches most people off guard is how rust behaves under paint. It doesn’t stay where the damage is, it spreads sideways beneath the surrounding paint, breaking the bond between primer and metal and causing the paint to bubble and lift well beyond the original chip. By the time you see bubbling, the corrosion underneath is already bigger than it looks. And painting over exposed metal without treating it first doesn’t fix anything; it traps moisture underneath and makes it worse.
But…Which Repair Does Your Car Actually Need?
1) Paint Correction and Polishing
A machine polisher with the right compound and pad combination works by carefully removing a controlled amount of the clearcoat surface, levelling it around the defect until the scratch or swirl is no longer visible. Done well, the gloss comes back, the surface looks uniform, and no new paint has touched the car.
The limit is straightforward: polishing removes clearcoat; it doesn’t replace it. If a scratch has gone through into the colour beneath, polishing will improve the area, but the scratch won’t disappear. The colour is gone, and abrasion won’t bring it back.
2) Spot or Localised Paint Repair
When the damage has gone beyond the clearcoat but is contained to a small area, a full panel repaint isn’t necessary. That’s where a spot or localised repair comes in.
The damaged area is prepared first, removing damaged paint, sanding and levelling the surface, treating the substrate where necessary, and applying primer. Fresh colour is then applied to the repaired area and blended into the surrounding paint, followed by clearcoat and curing.
Whether a spot repair blends invisibly depends on the panel location, the colour, the size of the damage, the paint type, and the condition of the surrounding paint. Some repairs blend perfectly. Others, particularly on complex metallic or pearl colours, or on older panels, are more challenging. The goal is always the best possible outcome for that specific damage, not a blanket promise of invisibility.
3) Full Panel Repaint
When the damage or panel condition makes localised repair the wrong approach, refinishing the entire panel is the correct solution. Failed coatings are removed or stabilised, the surface is repaired and levelled, primer and sealer applied, and the panel refinished with fresh basecoat and clearcoat followed by controlled curing. When done properly, the result is a panel that looks correct and is properly protected, not a cosmetic fix over a problem that hasn’t been addressed underneath.
Bare Metal: Substrate Treatment Before Refinishing
When bare metal is involved, the sequence of the repair matters as much as the repair itself. Any existing corrosion has to be removed first. The substrate is then treated with a rust converter or inhibitor, and an etching primer that bonds chemically to the clean metal is applied before refinishing begins. Painting over untreated metal doesn’t stop the corrosion; it seals moisture in and gives the rust a protected environment to keep spreading underneath until the paint starts lifting again.
How Grease Monkey Approaches a Paint Repair
The first question at Grease Monkey isn’t which paint to use. It’s what’s actually damaged and how far down it goes.
1) Inspection
Every repair starts with examining the damage under good lighting the type of defect, its size, its panel location, and how it behaves at different angles. That tells you what you’re actually dealing with before any tool touches the car.
2) Assessment & Repair Decision
Once the damage is identified, the layer affected is determined and whether the substrate needs attention before refinishing. Based on that, the correct repair path is decided: paint correction, spot repair with blending, or full panel refinishing. The goal is always the most accurate repair for that specific damage, not the most extensive or the quickest.
3) Preparation & Application
No shortcuts on surface preparation. The surface is sanded, levelled, and primed where required before any fresh colour is applied. Paint applied over poorly prepared surfaces doesn’t adhere correctly, and it may look fine initially, but it won’t last.
GYS Custom Paint Booth with IR Heating
Paint application and curing happen inside Grease Monkey‘s GYS Custom Paint Booth. Filtered air intake and controlled evacuation keep the environment free of contamination throughout the cycle. Infrared heating cures the paint from the inside out uniformly and completely, over a 40-minute cycle for both aqua-base and solvent-based systems. Most paint failures trace back to shortcuts in preparation or curing. The booth removes that variable entirely.
If your car’s paint has been damaged and you’re not sure what it actually needs, visit Grease Monkey, and we’ll tell you exactly what’s going on before we recommend anything.

Leave a Reply